When it comes to removing tape-in extensions, the remover you choose can make all the difference. The market offers a variety of options, and selecting the right one is crucial to ensure a safe and damage-free removal process. This section will delve into the different types of removers available, including oil-based, alcohol-based, and natural alternatives, and how each one interacts with different hair types.
Oil-Based Removers:
Oil-based removers are among the most popular choices for tape-in extensions. They work by breaking down the adhesive, making it easier to peel away the extensions without pulling on your natural hair. These removers are generally gentle and moisturizing, making them ideal for dry or brittle hair. However, they can leave a greasy residue, so it’s important to wash your hair thoroughly after use.

Alcohol-Based Removers:
Alcohol-based removers are effective at quickly dissolving the adhesive, making the removal process faster. These are great for those with oily hair, as they won’t add any additional oil to the scalp. However, they can be drying, especially for those with already dry or damaged hair. If you choose an alcohol-based remover, follow up with a deep conditioning treatment to replenish moisture.

Step-by-Step Guide: How to Properly Use Tape-In Extension Remover at Home
For many, removing tape-in extensions at home can seem intimidating, but with the right guidance, it’s a task that anyone can handle. This section will provide a comprehensive, step-by-step guide to using tape-in extension remover at home, with detailed instructions to ensure a safe and effective removal process.
Preparation:
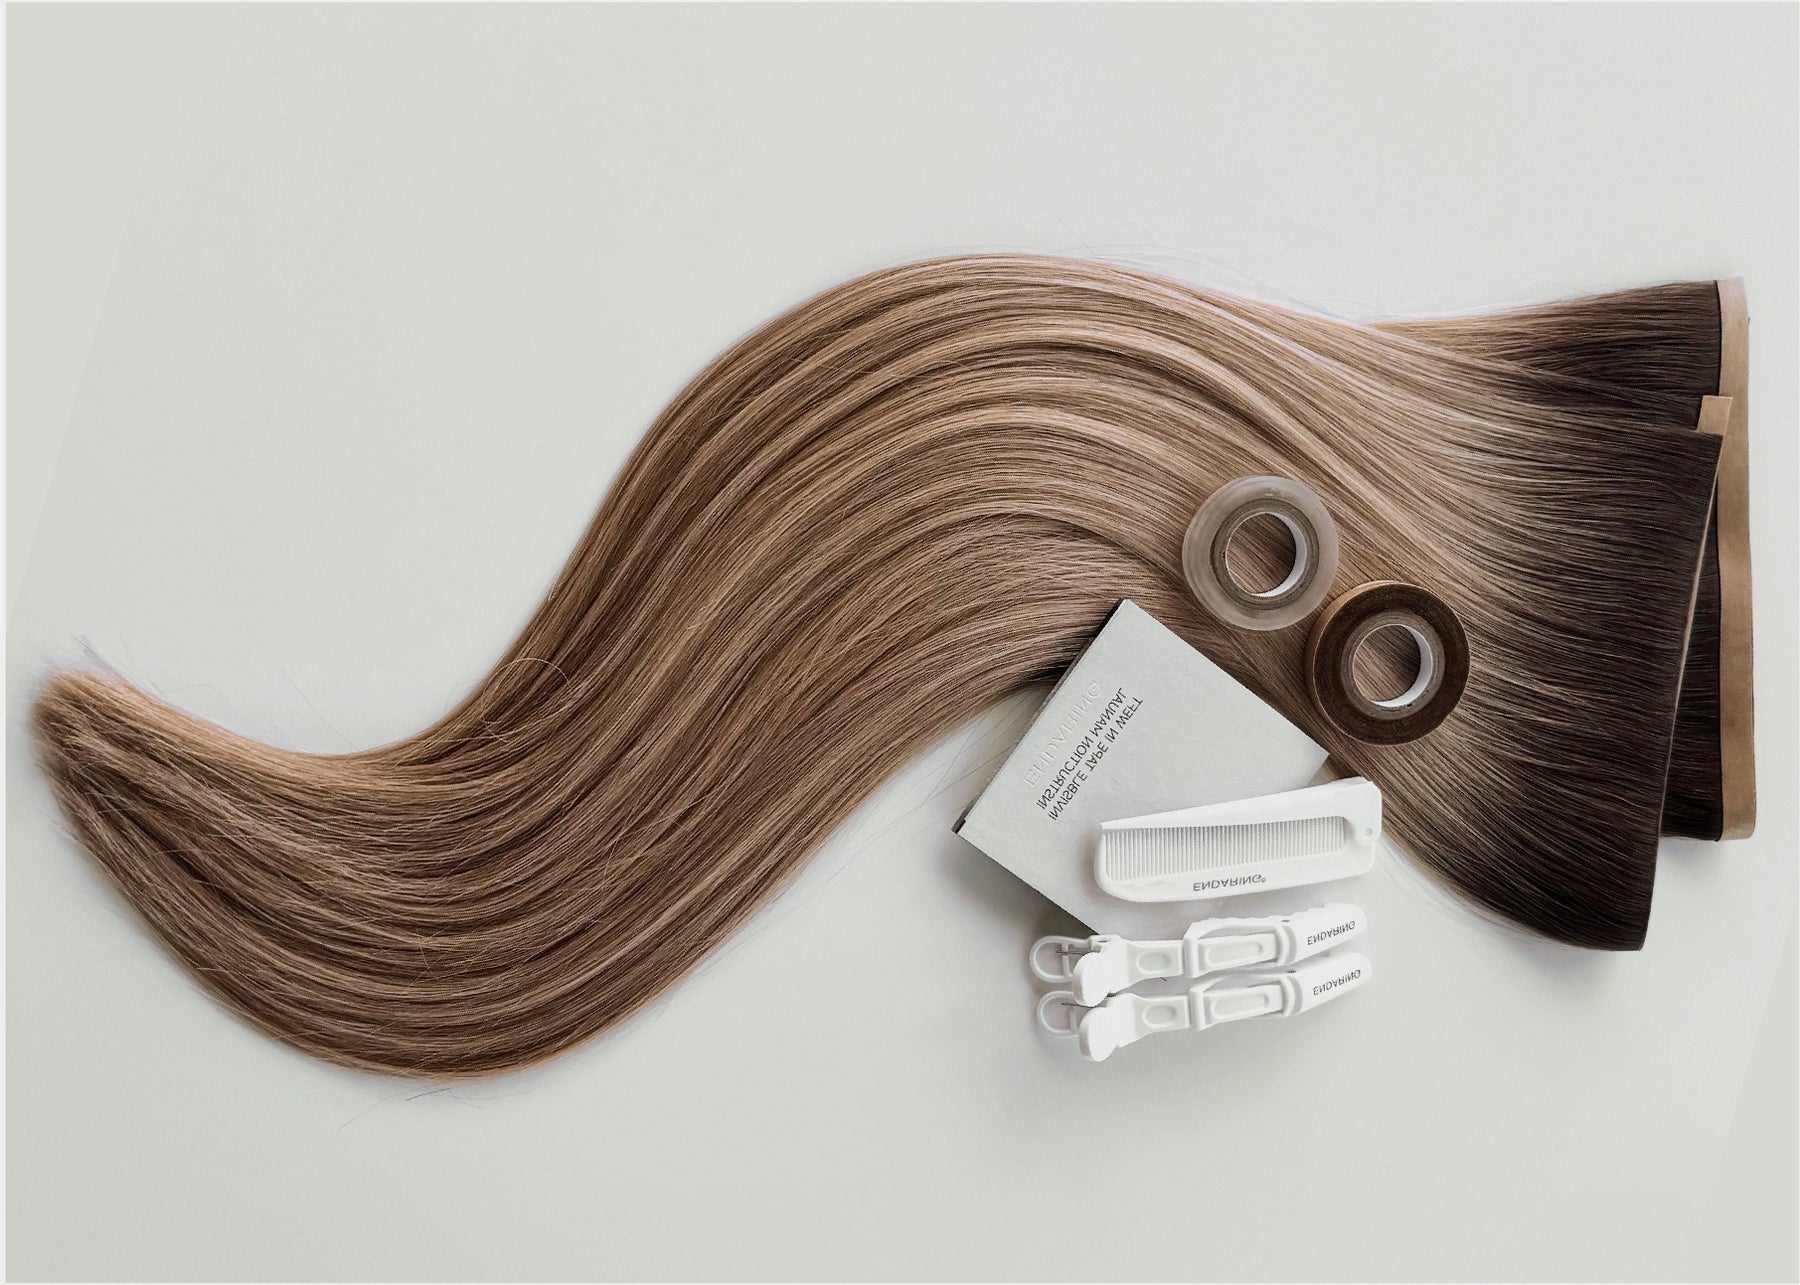
Before you begin, it’s important to gather all the necessary tools: your chosen remover, a fine-tooth comb, hair clips for sectioning, and a mirror where you can clearly see what you’re doing. Make sure you’re in a comfortable space where you can take your time without interruptions.
Sectioning the Hair:
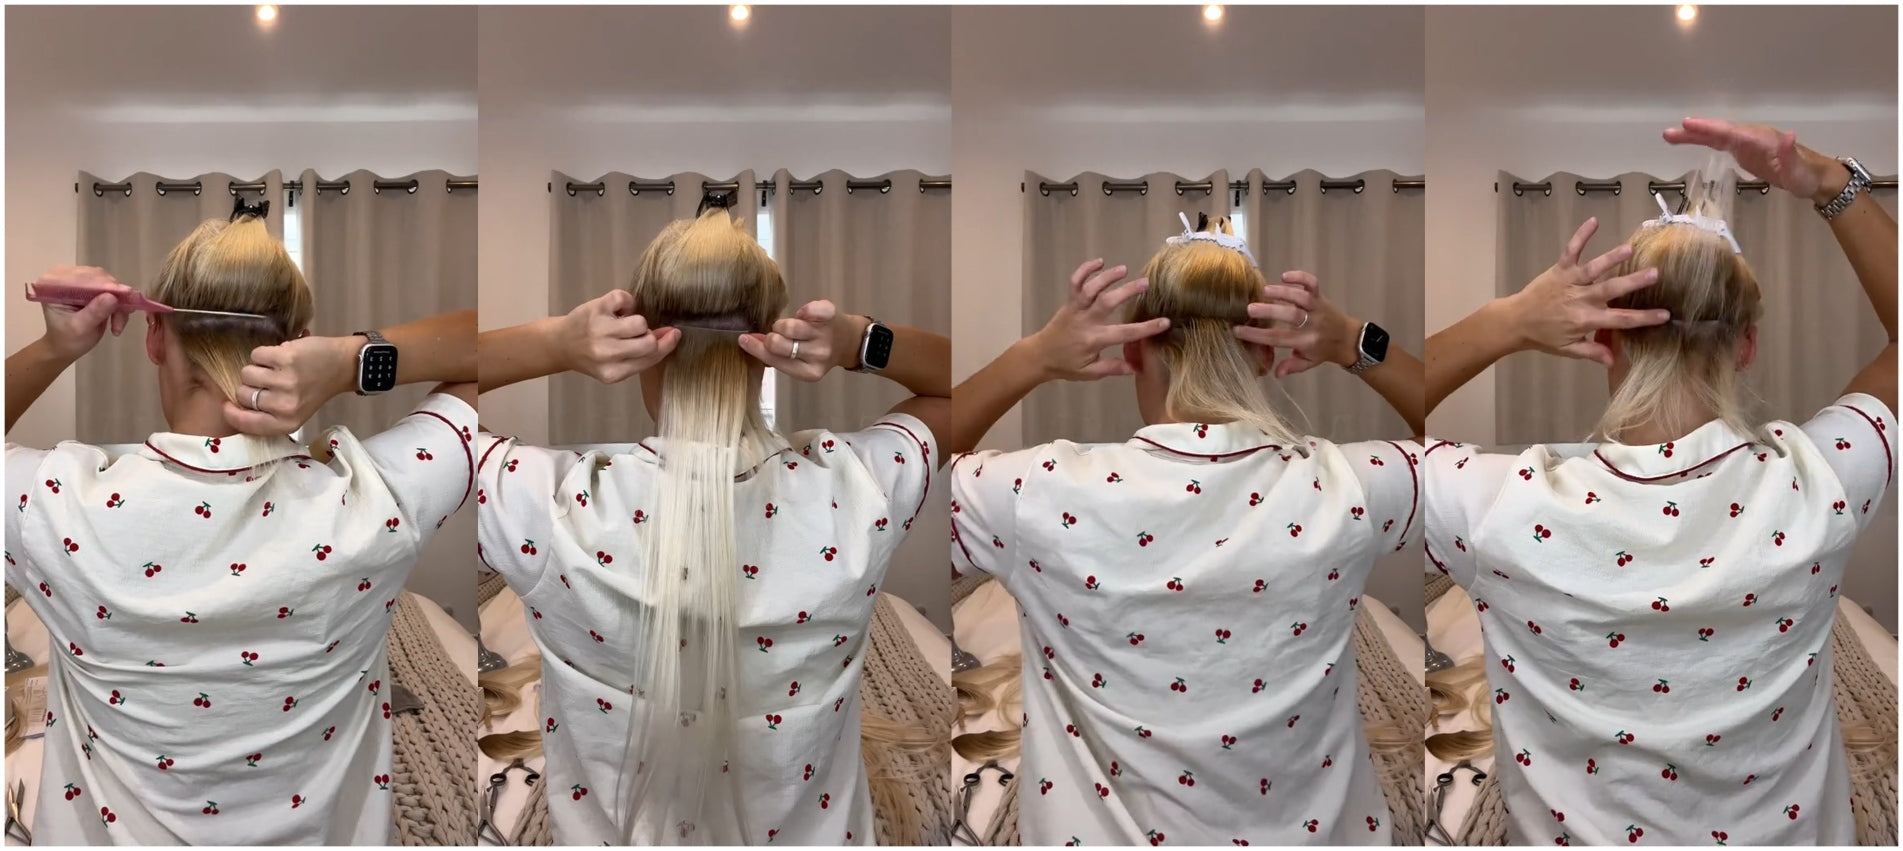
Start by sectioning your hair, clipping up the top layers so that only the row of extensions you’re working on is exposed. Working in small sections is key to ensuring that the remover is applied evenly and thoroughly. This approach also helps in maintaining control over the process, reducing the risk of tangling or pulling.
Applying the Remover:
Generously apply the remover to the adhesive area of the tape-ins. It’s crucial to cover the entire tape to ensure that the adhesive breaks down evenly. Depending on the product, you may need to wait a few minutes for it to fully take effect. Patience here is important; give the remover time to work, as this will make the next step easier.
Removing the Extensions:
Once the adhesive has softened, begin gently peeling away the extensions. Start from the edge of the tape, using your fingers to slowly lift the extension away from your natural hair. If you encounter resistance, stop and apply more remover. The goal is to remove the extension without pulling or tugging on your natural hair.
Combing Out Residue:
After removing the extensions, you’ll likely find some adhesive residue left in your hair. Use a fine-tooth comb to carefully remove this residue. If it’s particularly stubborn, you can apply a bit more remover or use an oil like coconut oil to help break it down.
Washing and Conditioning:
Once all extensions are removed, thoroughly wash your hair with a clarifying shampoo to remove any leftover adhesive and remover. Follow up with a deep conditioning treatment to restore moisture and ensure your hair remains soft and healthy.


